Let's do it together!
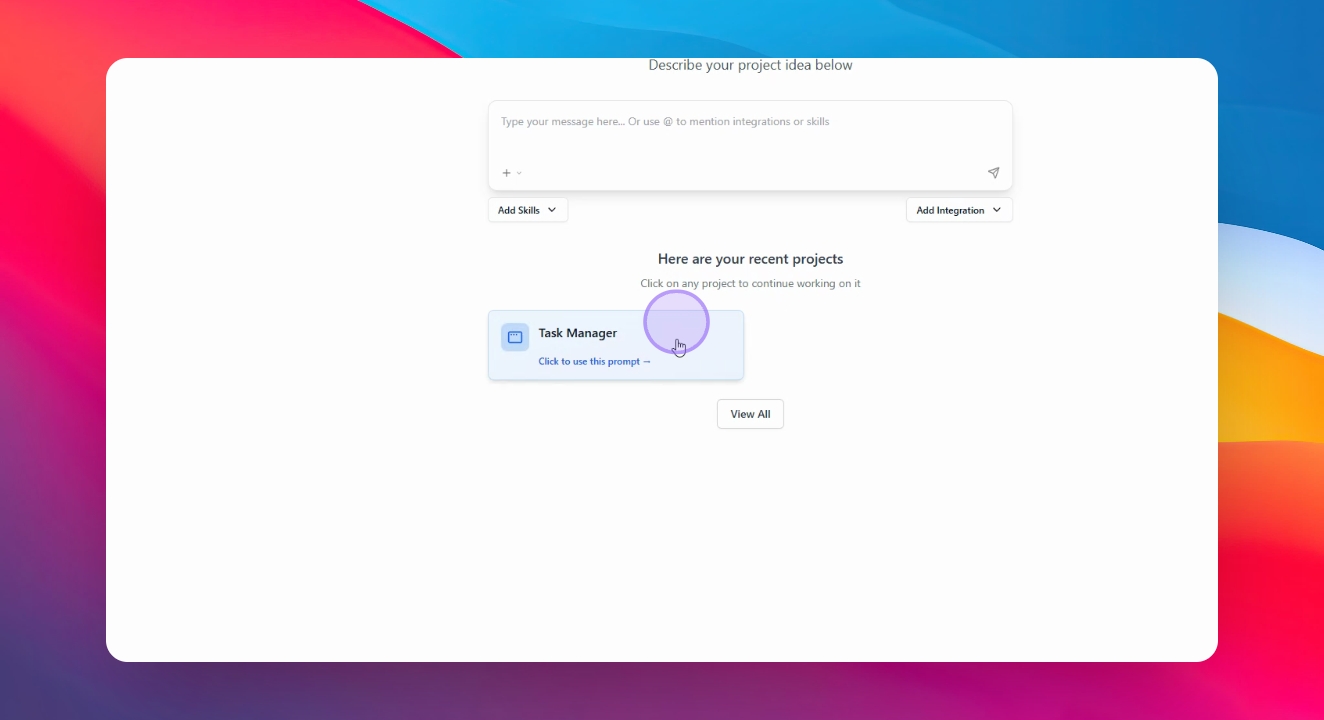
Step 1: Select Project
Select your project to begin managing environments.
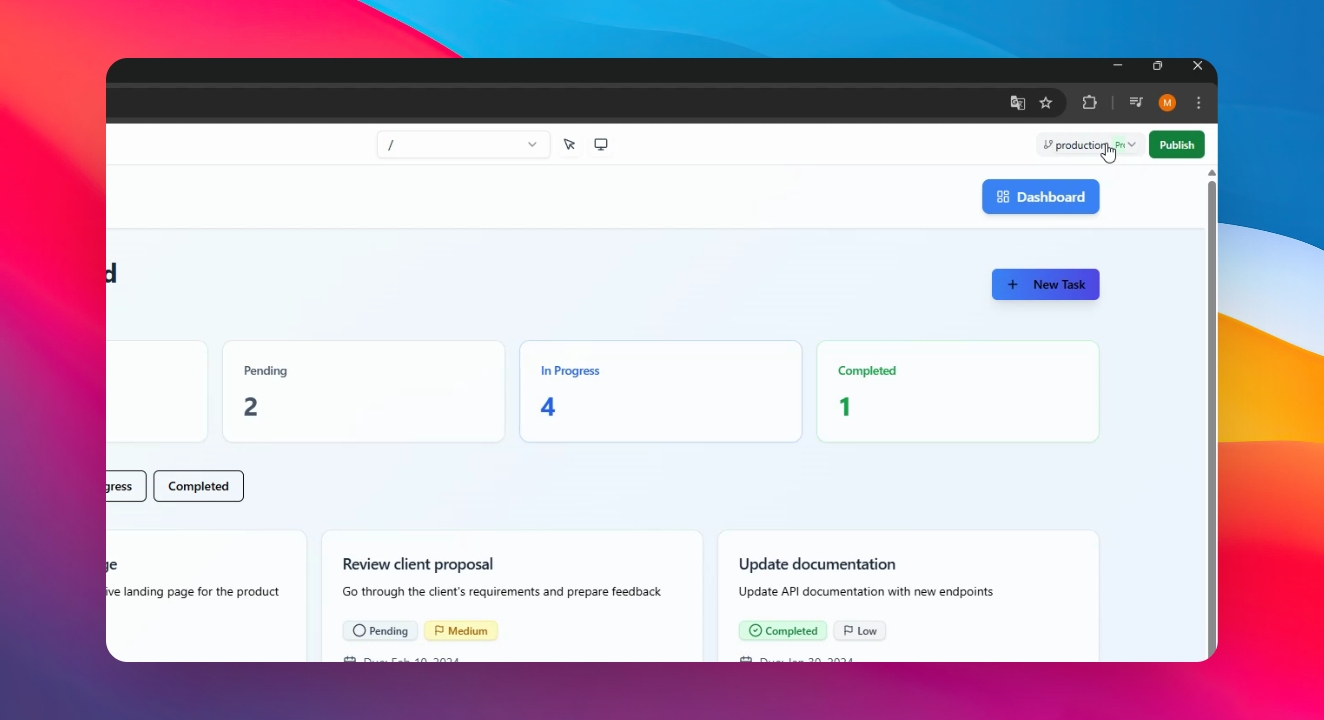
Step 2: Understand Environments
Learn that environments allow running multiple applications simultaneously. You can see your actual envoirment in the top-right section of your application. by defect its "Production". Production is the environment for users; Create Development for changes.
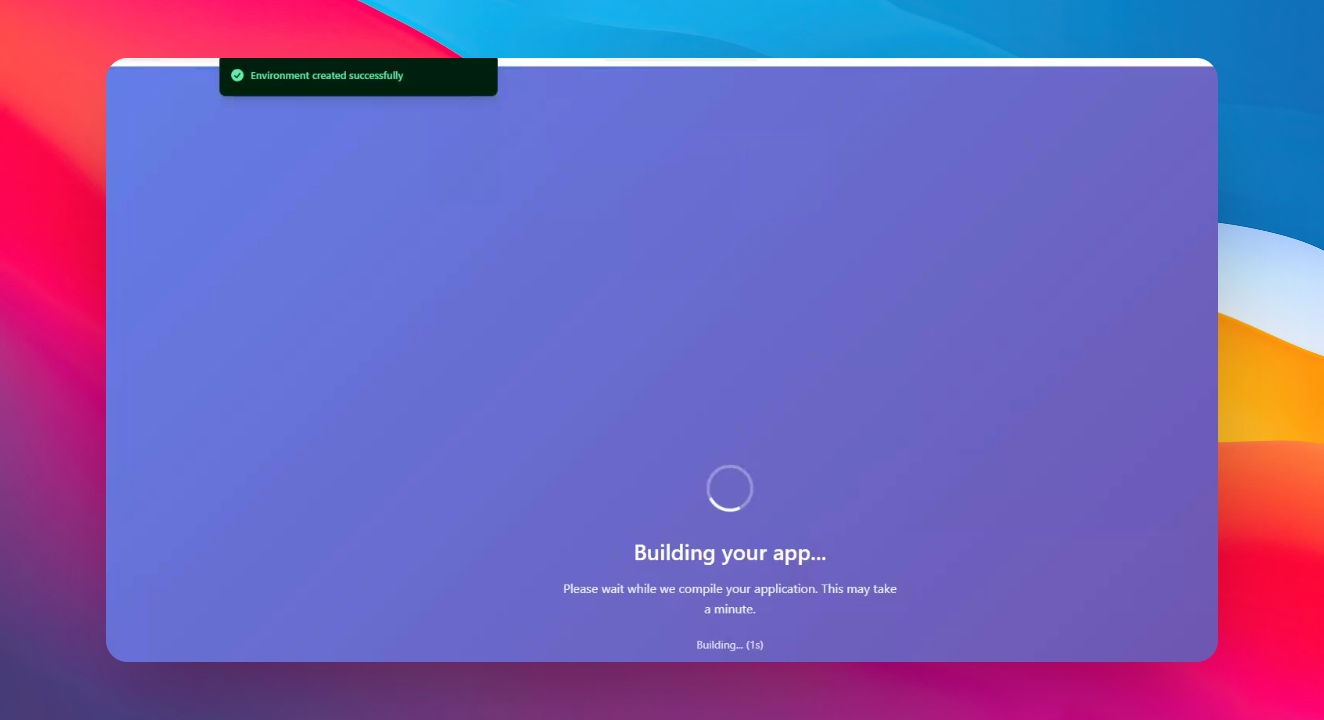
Step 3: Create Environment
Click on your environment and select Create Environment. Name your new environment and click Create.

After a few seconds, the system creates an exact copy of your application, including the database.
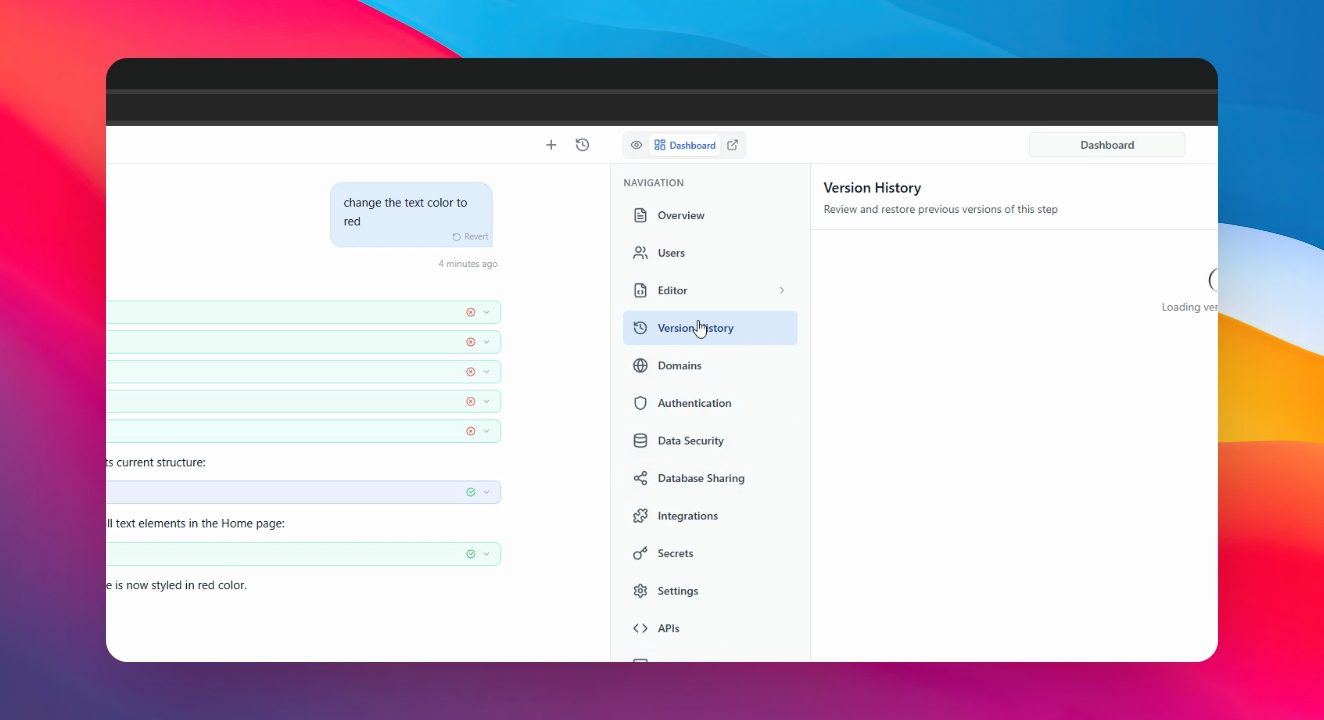
Step 5: Make Changes
Select your new environment and interact with the AI to make desired changes. For example, make them change the color of the text to red.
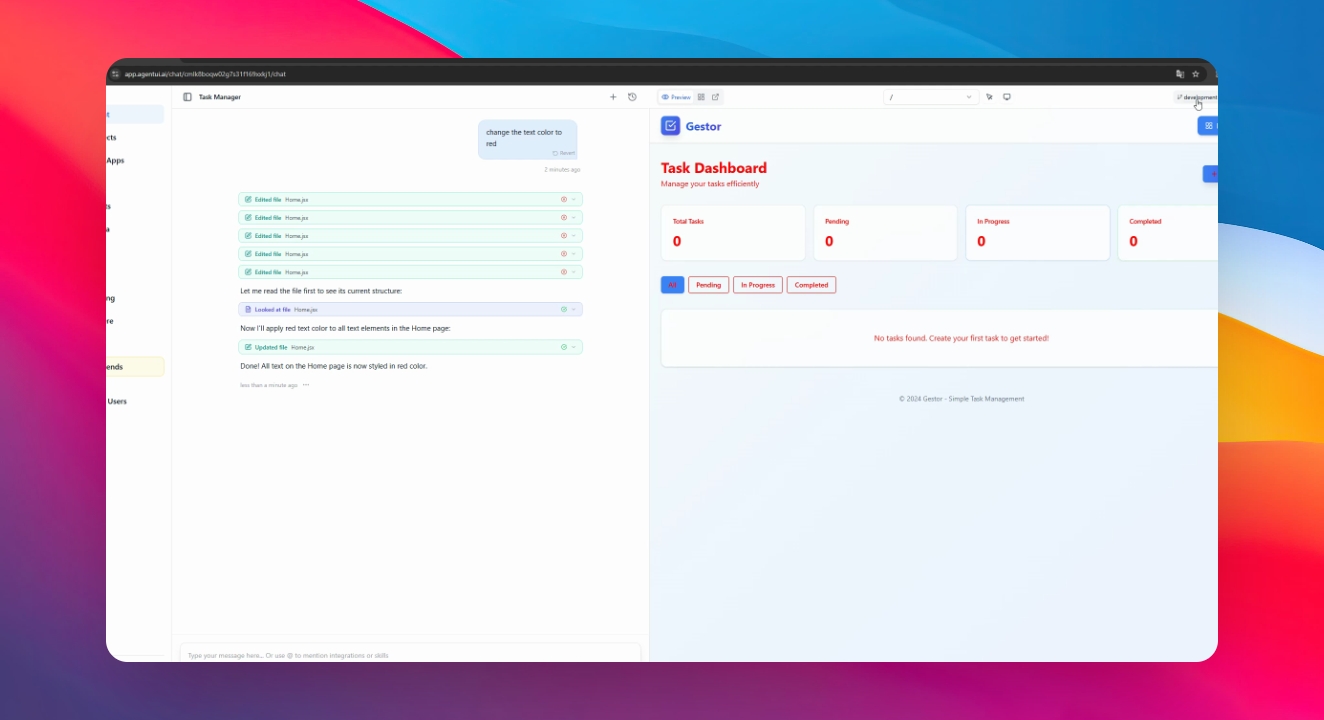
Step 6: Verify Changes
Changes will only display in the new environment; Production remains unaffected.

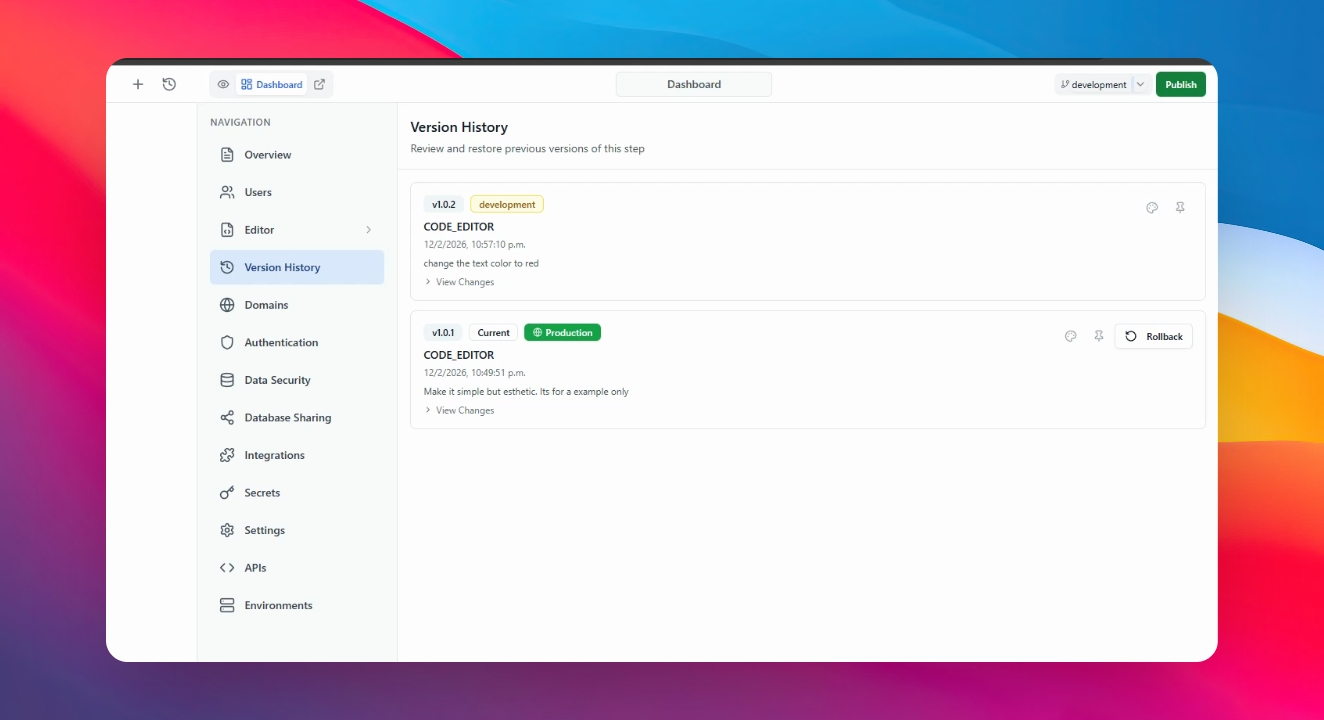
Step 7: Check Version History
If needed, go to Dashboard and then Version History to view current versions.
Step 8: Rollback Changes
Click on Rollback to revert to the previous version if necessary.
Step 9: Promote to Production
To push changes to Production, navigate to the environments menu and click on Promote.
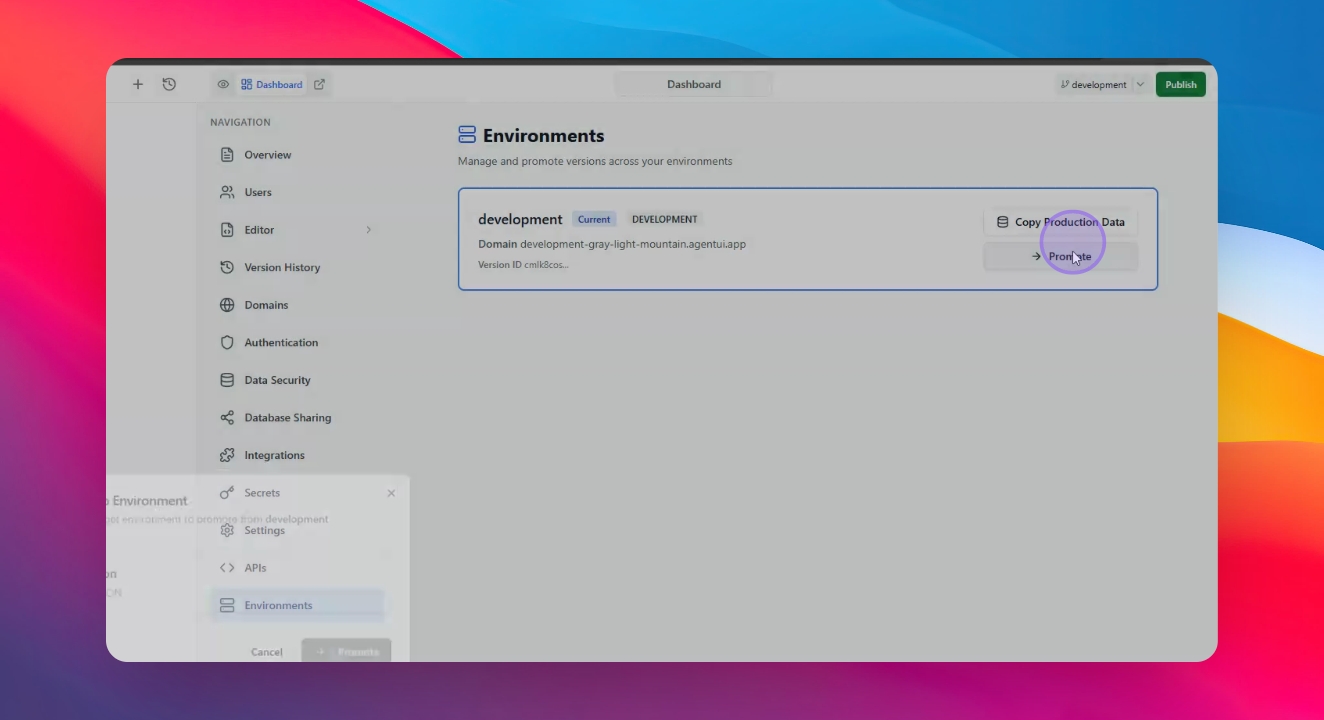
Step 10: Confirm New Features
All users will now see the new features after the promotion.
