Step by step guide
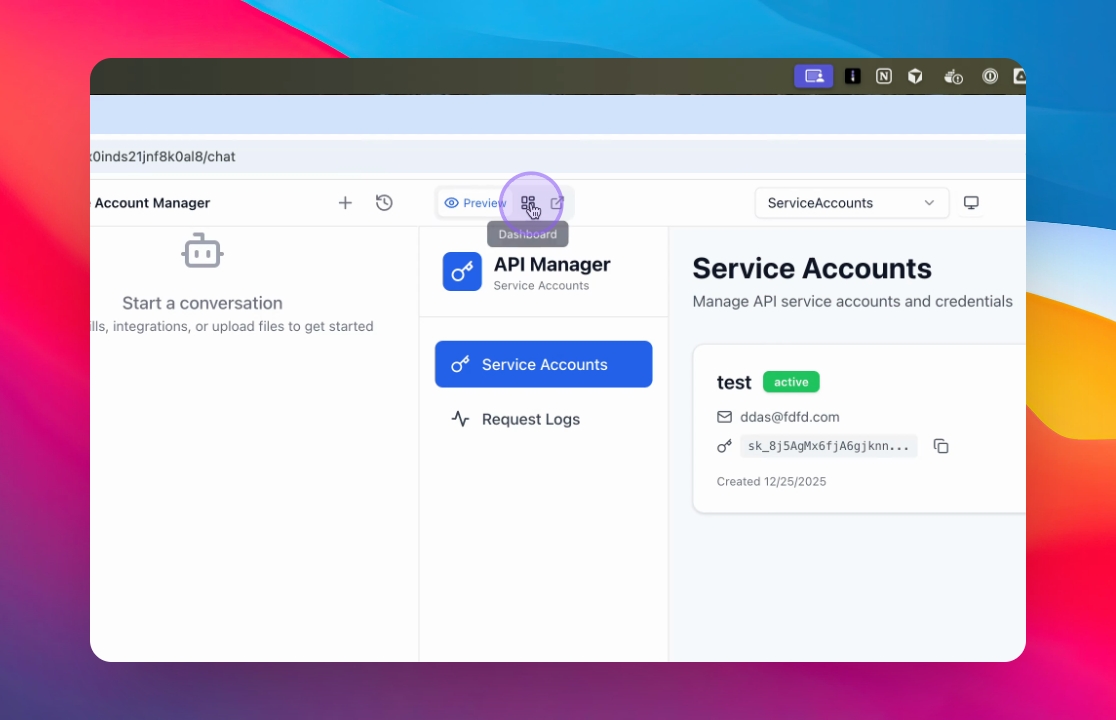
Step 1: Access Dashboard Settings
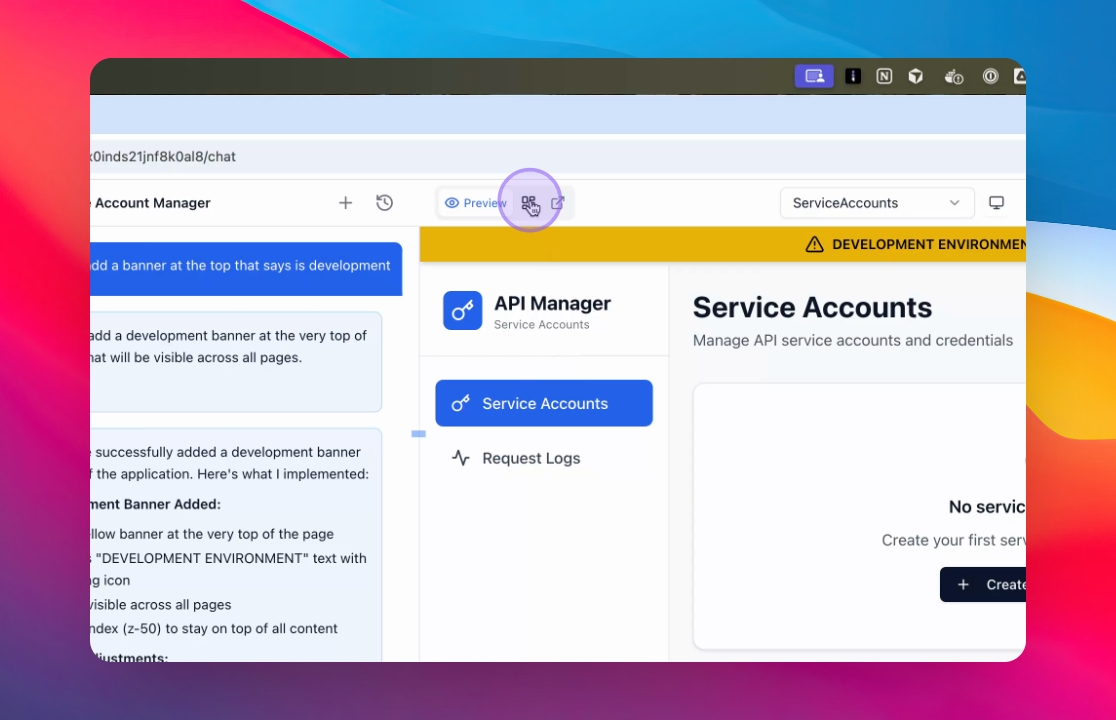
Open your app’s Dashboard and navigate to Settings.
You are now viewing the dashboard configuration options.
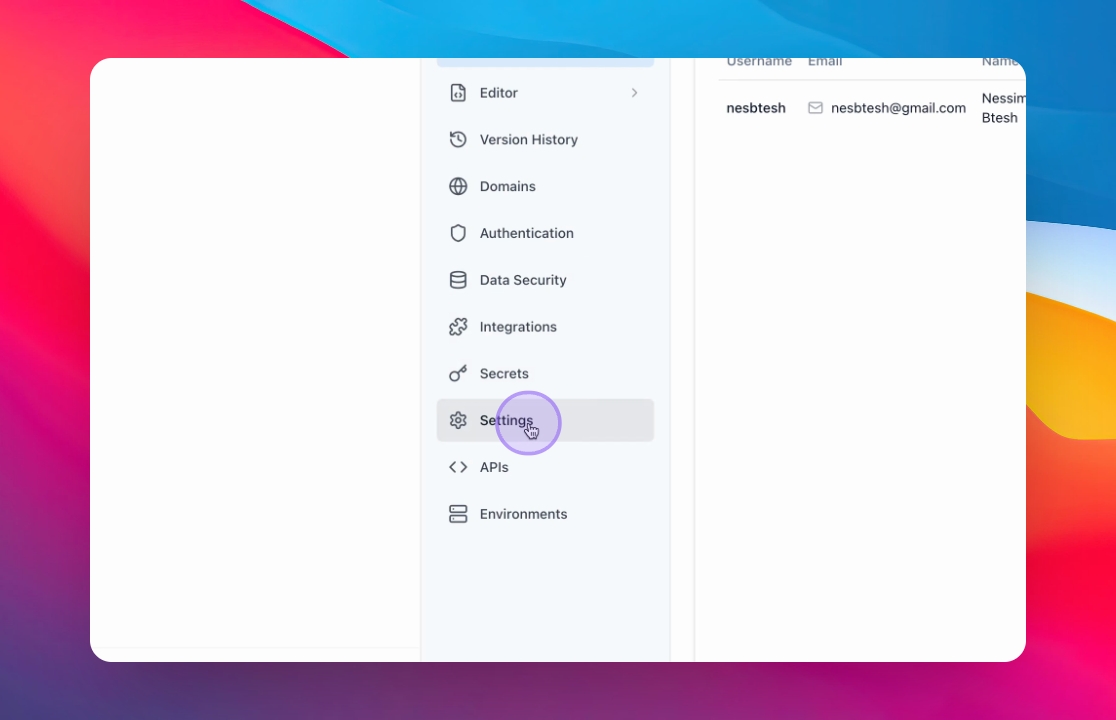
Step 2: Navigate to Settings
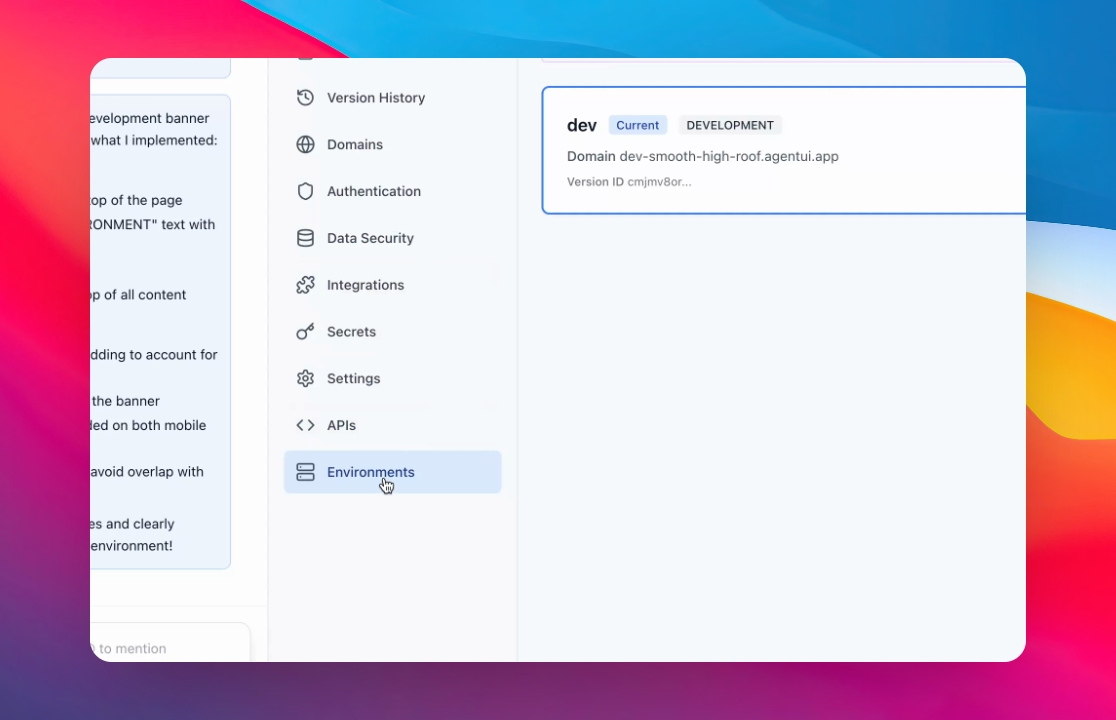
From the dashboard, open the Settings menu to manage environments and access controls.
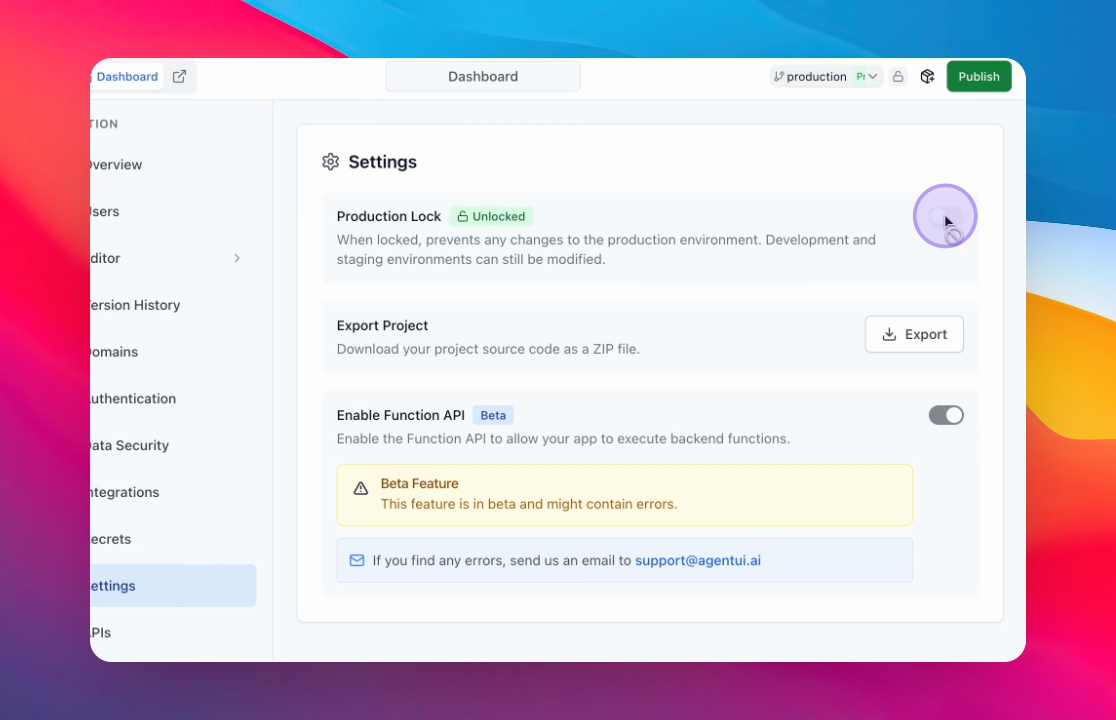
Step 3: Lock Production Environment
Once locked:
The production environment cannot be modified
All changes must be made in a separate environment
This ensures your live users are protected from unintended changes.
Step 4: Go to Production
Confirm that you are currently viewing the Production environment and that it is locked for safety.
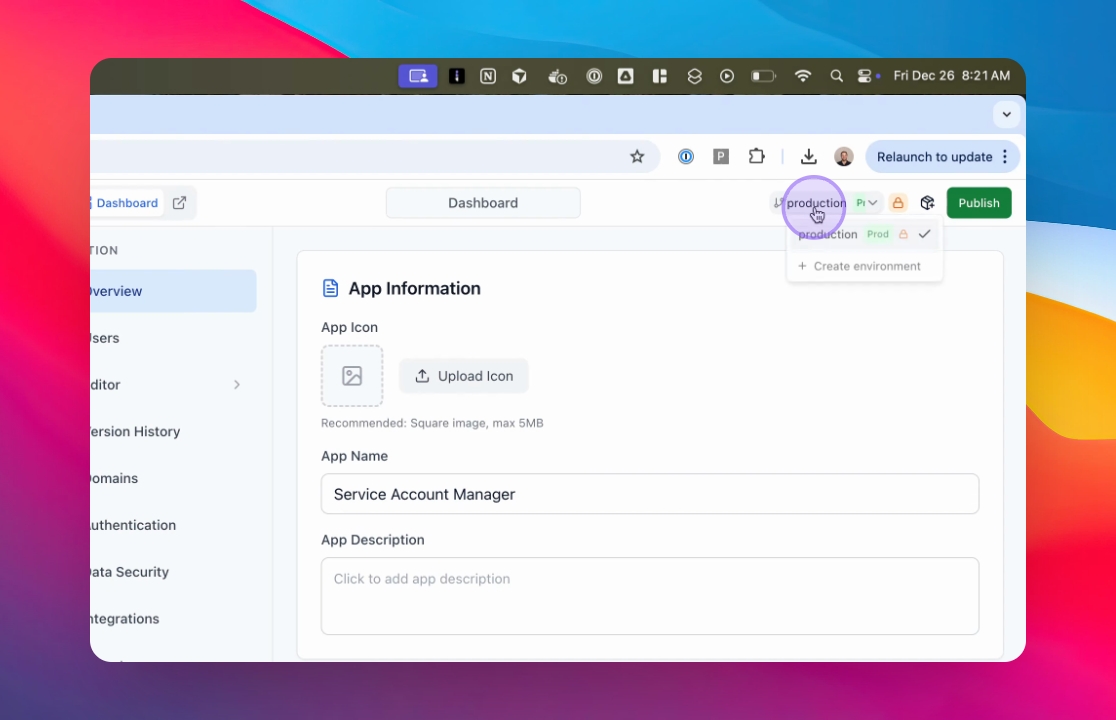
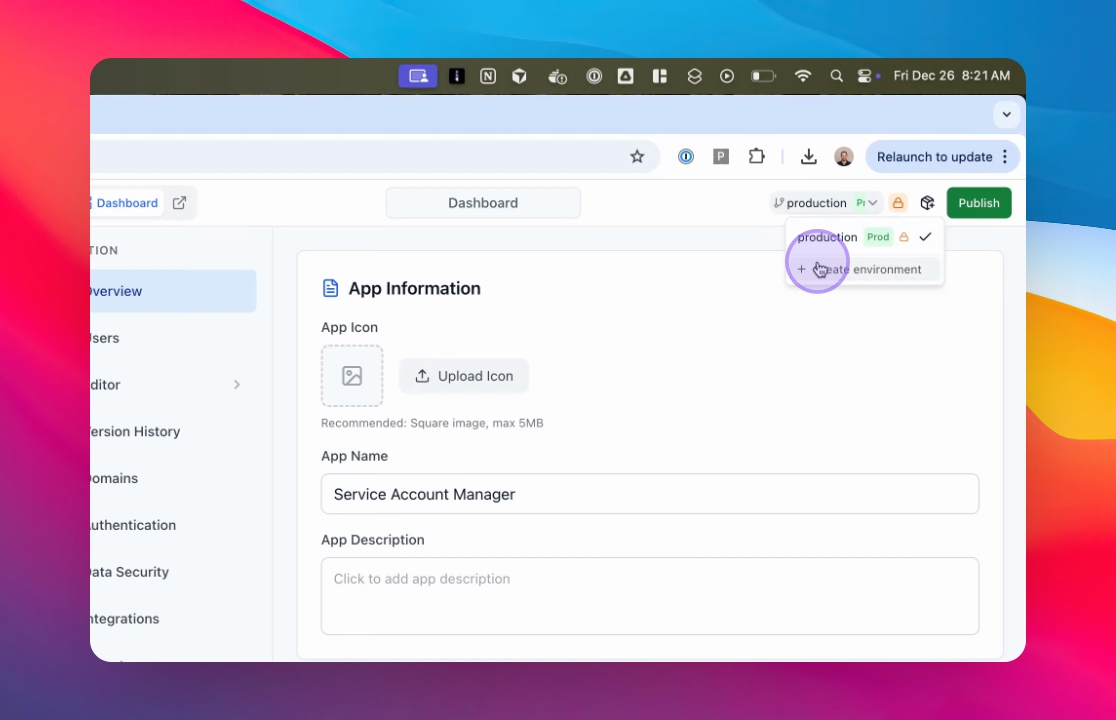
Create a New Development Environment
Click on Production to create a new environment.
A new Development environment (e.g.
Dev) is createdThis environment has its own domain
Changes made here will not affect production
Step 1: Click on Create Environment
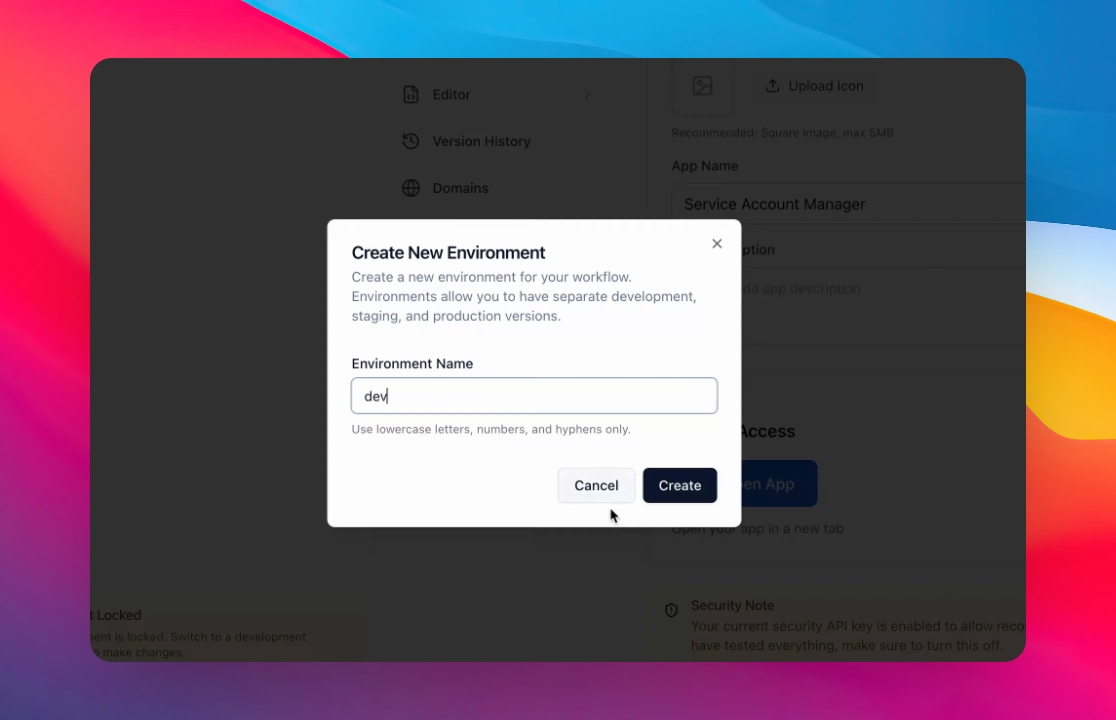
Step 2: Enter your new Environment name (e.g. Dev)
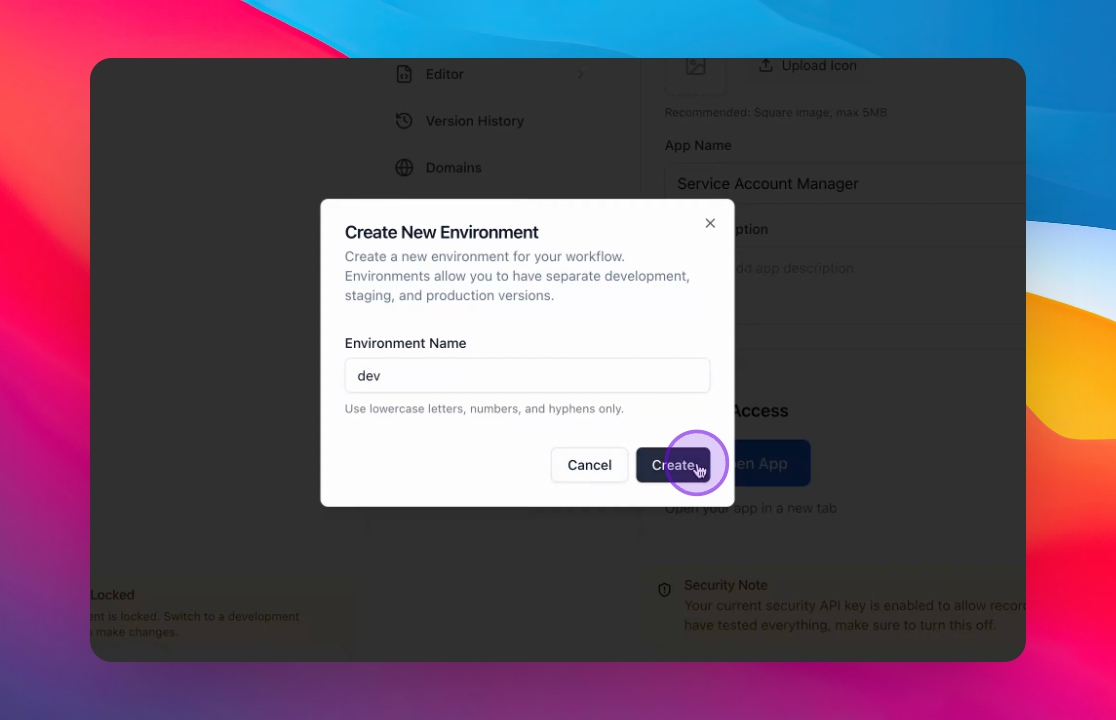
Step 3: Click Create
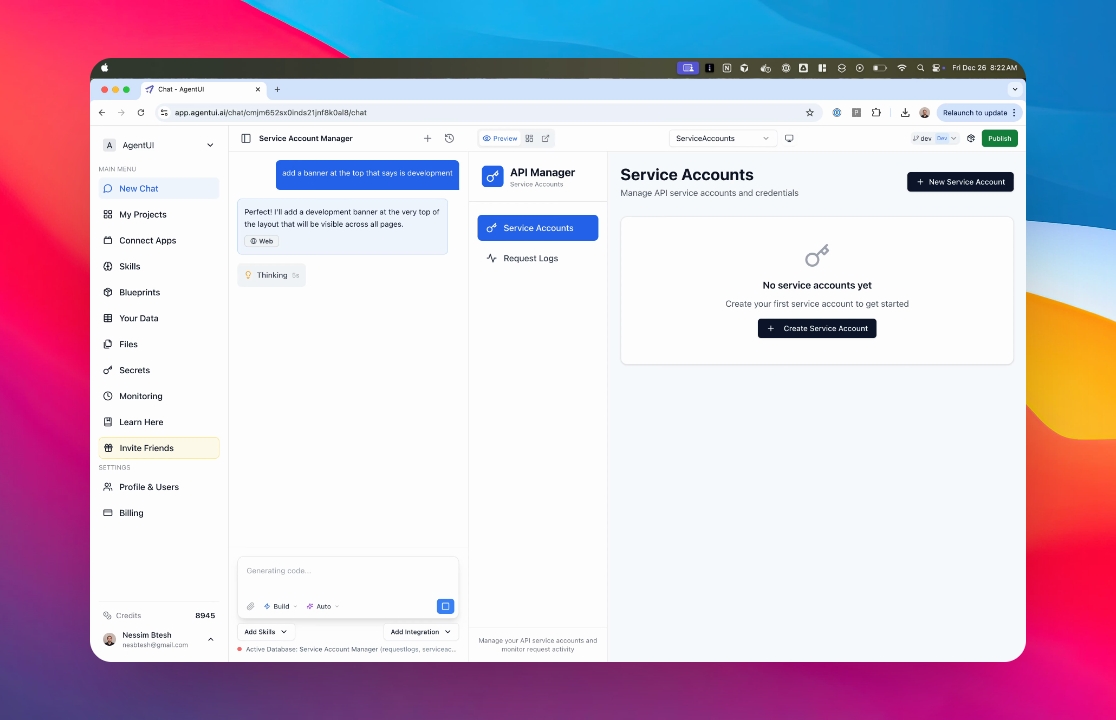
Step 4: Modify Development Environment
Make your changes in the development environment.
For example:
Add a banner indicating it is a Development environment
Test UI, logic, or configuration updates
All changes remain isolated to this environment.
Step 5: Generate Code
The AI generates code only for the current environment.
Production remains unchanged
Development updates are applied safely
You can iterate freely without risk
How to push to Production
Step 1: Open Environments
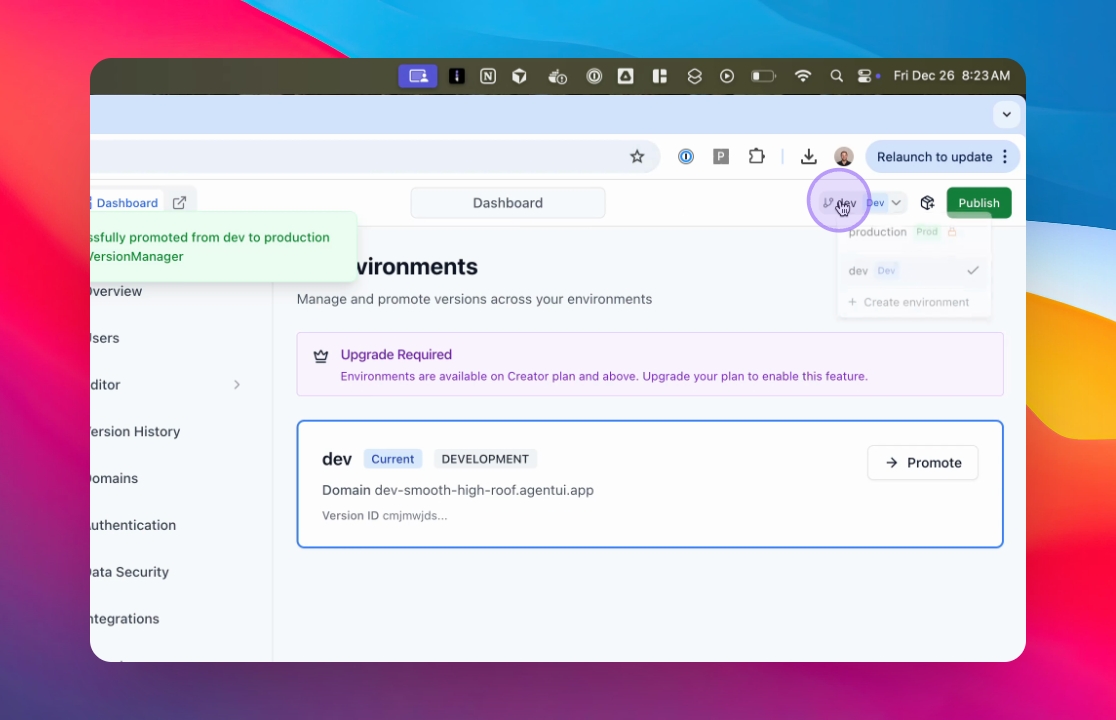
Go back to the Dashboard and click Environments.
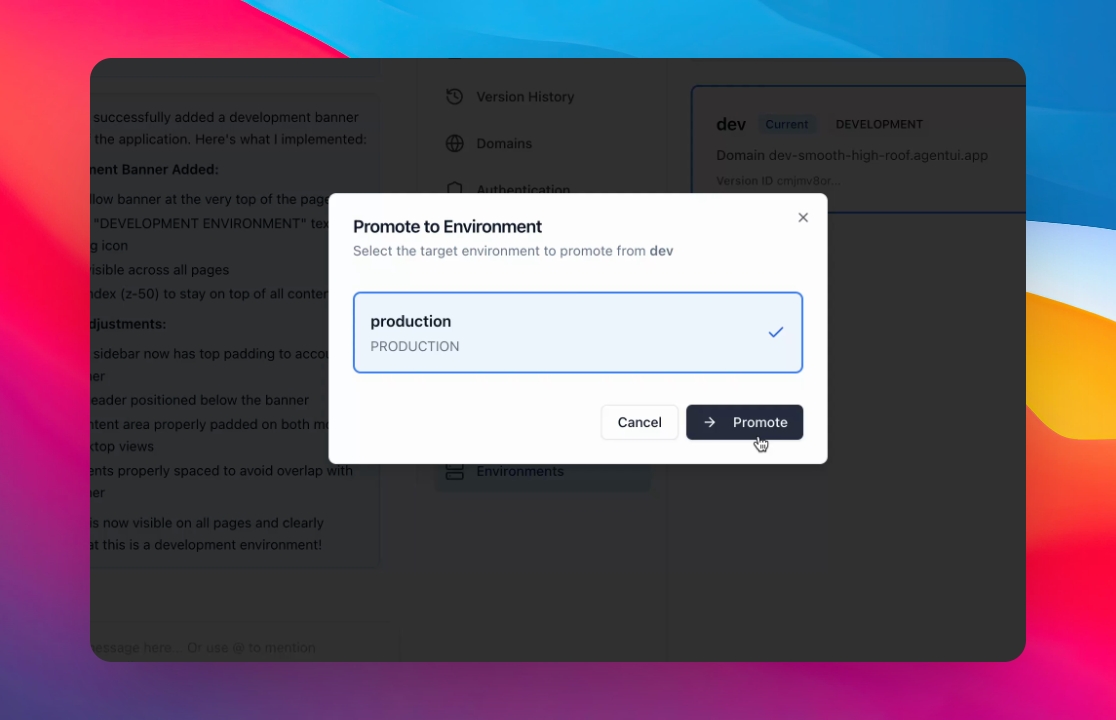
Step 2: Click Promote on the Environment to Promote
Choose the development environment that contains the changes you want to release.

Step 2: Click Promote
Click Promote to push the selected environment to production.
This replaces the production version with your tested changes.
Step 3: Verify Changes in Production
Switch back to production to see the new changes.
Your users now have access to the updated production environment.
Click on the environment dropdown
Select the production environment
